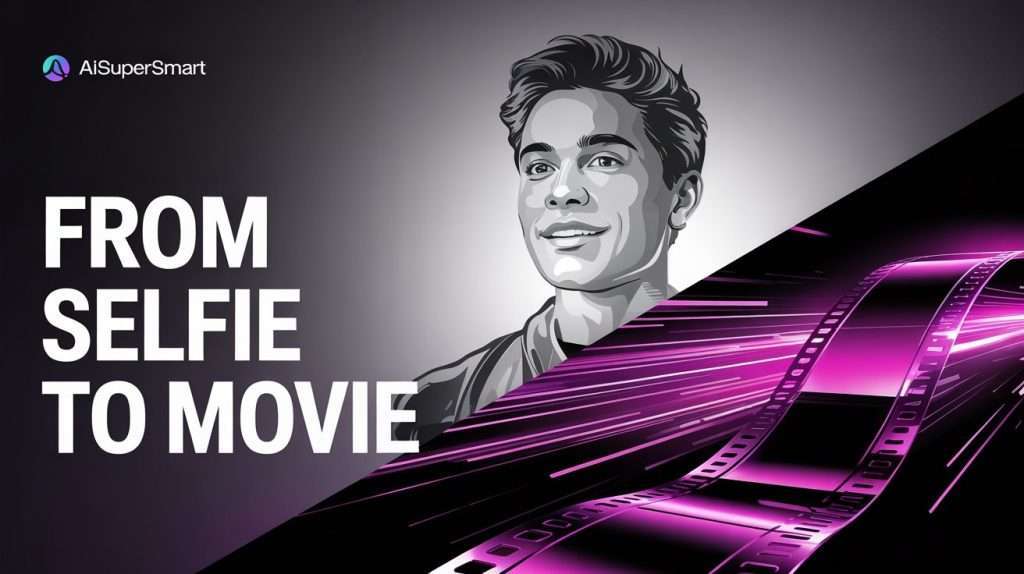
Okay, so you’ve probably seen them by now: those mesmerizing, short videos where a still photo subtly comes to life. A portrait’s eyes glance sideways, steam rises from a coffee cup, or clouds drift across a landscape. I saw them all over my social media feeds and my first thought was, “I need to try this.” After a bit of digging, I found out it was a new feature baked into Google’s AI ecosystem.
I spent a whole evening uploading my selfies, writing prompts, and frankly, creating some truly bizarre results. But I also created some magic. Here’s the no-fluff guide on how you can do it, too.
- The Tool: The image animation feature is part of ImageFX, which is in Google Labs. It’s not in the main Gemini chatbot.
- The Cost: It was completely free for me to use during my testing.
- My Key Tip: Use a clear selfie with good separation from the background. The AI gets really confused by busy scenes and you’ll get some funky warping effects.
- The Big Catch: You have very little fine-tuned control. Think of yourself as an art director, not the animator. You guide the AI, but it makes the final call.
First, What Is This Thing and How Do You Get It?
My first point of confusion was trying to find this feature. I went straight to the Gemini chatbot (gemini.google.com) and tried typing “animate this image,” which did absolutely nothing.
It turns out, the animation tool is part of a different Google service called ImageFX. You can think of this as Google’s AI playground for visual stuff. You’ll likely need to join a waitlist if it’s your first time, but I got access pretty quickly.
Here’s how I found it:
- I went to the Google Labs homepage.
- I looked for the ImageFX tool and clicked into it. This is where you can generate images, but now it has the video feature baked in.

My Step-by-Step Guide to Animating Your First Selfie
Once I was in the right place, it was time to experiment. Here’s the exact workflow I used to get my best results.
Step 1: Choosing the Right Photo (My First Mistake)
My first instinct was to upload a cool, but complicated, photo of me and my friends. The result was a nightmare. The AI tried to animate everyone at once, and faces started melting into the background.
I quickly learned that the simpler the photo, the better the result.
I switched to a basic selfie I took in my car. It had a few key things going for it: my face was in sharp focus, the background (the car’s headrest) was blurry and simple, and there was good lighting.

Step 2: Uploading and Describing the Motion
The interface is pretty straightforward. You upload your image, and then you see a prompt box. This is where you tell the AI what you want to happen.
I started with simple prompts. For my car selfie, I typed: “subtle zoom in, hair gently blowing in the wind, cinematic.”
The key is to describe the motion, not just the scene. Words like “pan left,” “tilt up,” “rolling clouds,” “shimmering water,” or “slow zoom” work best.
Step 3: Picking Your Animation Style (The Fun Part)
After you type your prompt, ImageFX gives you some pre-set animation chips or settings you can tweak. I found options for things like “Horizontal,” “Vertical,” “Zoom,” and “Rotate.” It also lets you adjust the “Animation amount” with a simple slider.
For my first try, I just stuck with my text prompt and didn’t click any of the extra settings.
Step 4: Generating and Reviewing the Result
I hit the “Generate” button and waited about 30-45 seconds. And honestly, the first result was pretty impressive. It created a 2-second clip where the camera slowly pushed in on my face, and a few strands of my hair moved just enough to look realistic. It wasn’t perfect, but it was a solid start.
The Results: The Good, The Bad, and The Hilariously Weird
I didn’t just stop at one. I spent the next hour feeding it all sorts of photos. Here’s what I discovered.
The Good: When It Works, It’s Magic
When you give the AI a clean photo and a clear motion prompt, the results are genuinely amazing. A photo I took of a landscape with a lake turned into a beautiful, serene video with shimmering water and drifting clouds. A portrait of my friend looking out a window became a pensive, cinematic moment.
The Bad: Warping, Weird Artifacts, and General Strangeness
This is where it gets interesting. The AI is far from perfect. If there’s anything ambiguous in your photo, the AI will take some… creative liberties. In one attempt, it interpreted a pattern on my shirt as a face and tried to make it “look” to the left. The result was a bizarre, warping mess.
This is the most important thing to remember: the AI is just guessing. It’s trying to fill in the blanks, and sometimes its guesses are just plain wrong.

Pro Tips I Learned After an Hour of Testing
After dozens of generations, I figured out a few tricks that dramatically improved my results.
- Tip #1: Backgrounds Are Everything. I can’t stress this enough. A clean, simple, or out-of-focus background gives the AI less to mess up. Portraits work way better than busy street scenes.
- Tip #2: Be Vague but Descriptive. Instead of saying “make my eyes look left,” which can be creepy, I had better luck with “A pensive glance to the side.” This gives the AI more creative freedom to produce something that looks natural.
- Tip #3: How to “Control” the Camera. The easiest way to control the overall motion is by using the preset chips for “Pan Left/Right,” “Tilt Up/Down,” or “Zoom In/Out.” I found that combining a preset chip with a simple text prompt (like “and make the leaves rustle”) gave me the most predictable results.
- Tip #4: Downloading Your Masterpiece. Finding the download button took me a second. After it generates a video you like, you have to click on it, and then a download icon appears, usually in the top right corner. It exports as an MP4 file.

So, What’s the Bottom Line? Is It Worth Your Time?
My final verdict is: Absolutely, yes.
This isn’t a professional-grade VFX tool that’s going to replace Hollywood artists. It’s quirky, unpredictable, and has some obvious limitations. But as a free, incredibly fun tool to add a bit of life to your photos for a social media post or just to wow your friends, it’s fantastic. It feels like a glimpse into the future of how we’ll create and interact with content.
Go in with a spirit of experimentation, be prepared for some weird results, and you’ll have a blast. 😉
Your Turn!
Now it’s your turn to be the director. What photos are you going to try animating? Share your results or any questions you have in the comments below